Getting started with Cursor.AI
Introduction
Section titled “Introduction”Cursor has gained popularity as a highly capable AI assisted IDE. It has native support for MCP servers to improve the agent’s capabilities. To add an MCP server go to cursor settings then click on the MCP tab to get all of the MCP servers. At this point add an MCP server

Then you will be given a JSON file to edit. Use the following MCP server settings:
{ "mcpServers: [ "innoflex-mcp": { "type": "streamable-http", "url": "https://mcp.svc.innoflex.cloud/mcp", "authorization": { "type": "oauth2", "authorizationEndpoint": "https://innoflex-cloud.auth.ap-southeast-2.amazoncognito.com/oauth2/authorize", "tokenEndpoint": "https://mcp.svc.innoflex.cloud/oauth2/token", "clientId": "1ugshoofdl4nfr47fc3ico61jf", "scopes": [ "openid", "profile", "email", "mcp/read", "mcp/write" ] } } ]}Save that file and you will be able to authenticate to the server and get access to your data.

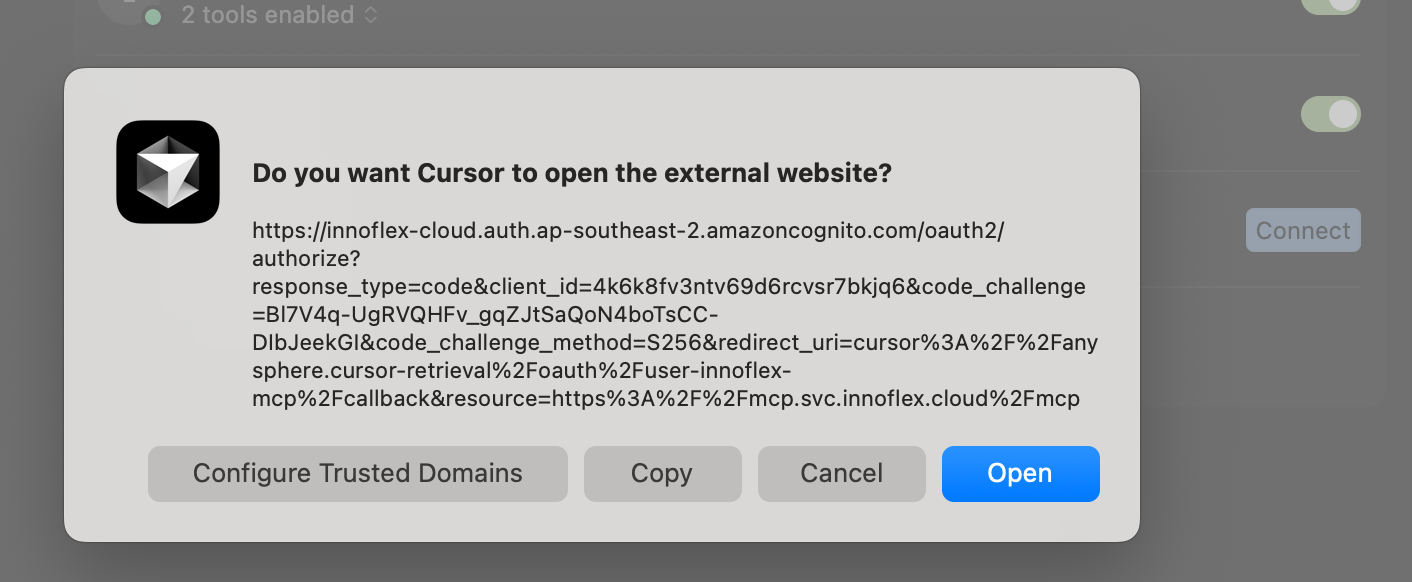
This will then prompt you to open a browser to complete the authentication
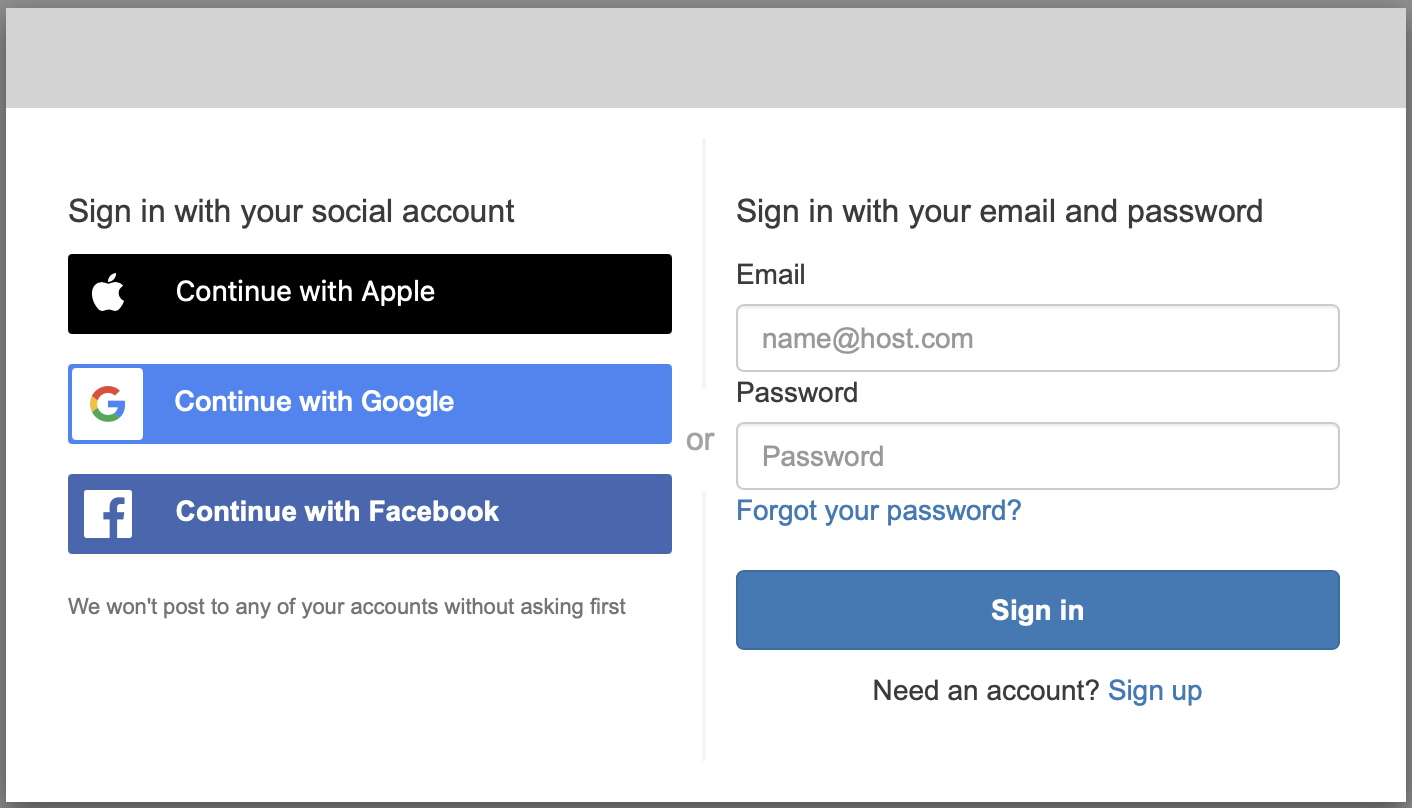
You will then have the opportunity to log in with your IWS credentials.
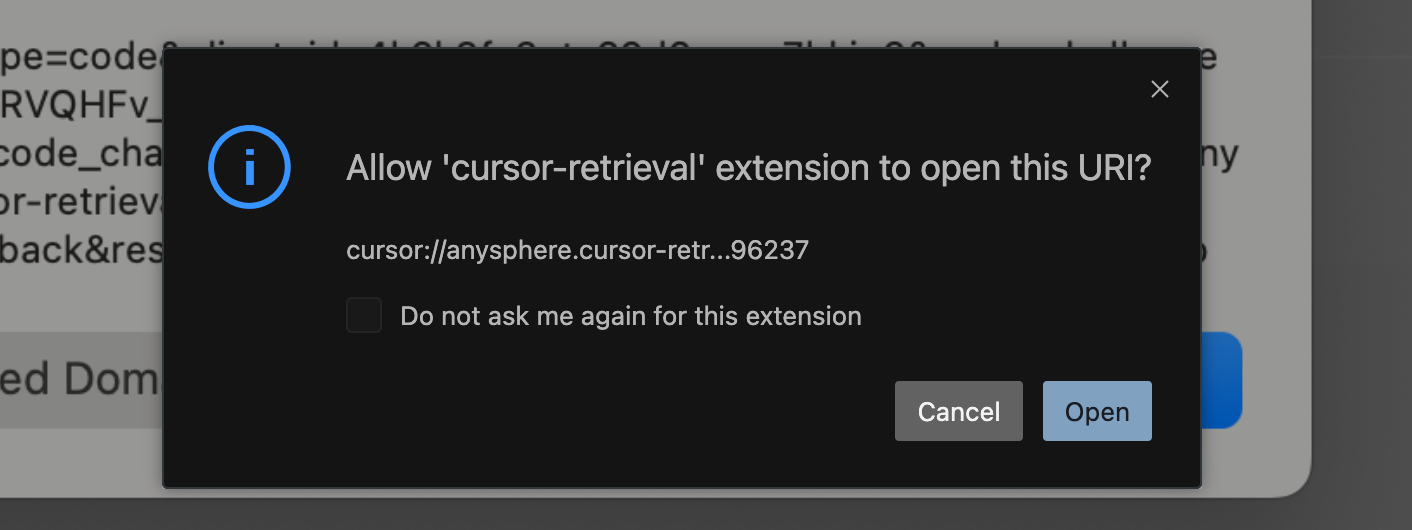
You will then need to accept the credentials returned to Cursor.AI
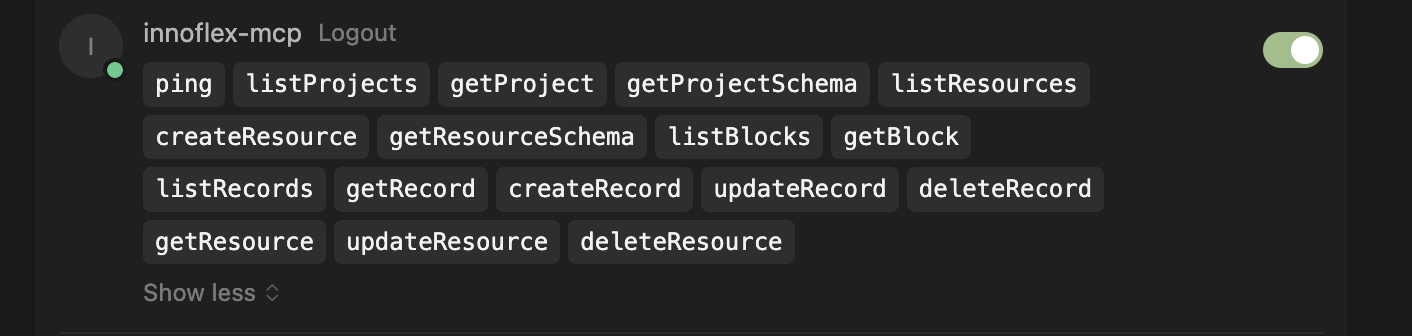
If this process is completed successfully you will get a green light on the MCP server and it will retrieve all of the tools provided by the server.